Render, download, and export
Render a finished video or image in the cloud, or export the project JSON for automation.
When to use it
Use Render to create media you can watch, download, or share. Use Export when you want to keep the editable payload or use it in code. Save keeps a cloud draft for later editing.
Before you begin
For cloud rendering, sign in and have sufficient credits. Check your dimensions, frame rate, duration, source URLs, and variable defaults. Rendering uses the same account limits and credit system as the API.
How to render a video
Navigation: Editor → Render.
- Preview the project and save it if you need to keep the editable version.
- Click Render.
- If validation errors are listed, close the dialog and fix the reported fields.
- If prompted, click Sign in to render and sign in.
- Check the output summary and available credit balance.
- Click Start render.
- Wait through Queued and Rendering in the cloud. The dialog displays progress and, once rendering is underway, reserved credits.
- When complete, play the result and click Download.
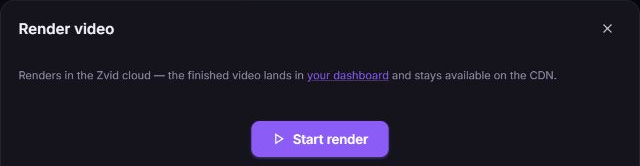
The finished media also appears in your dashboard's videos. Click Render again to submit another render of the current composition.
The editor dialog shows your available balance before submission; it does not show a hosted cost estimate before Start render. For an account-aware estimate and validation, export the JSON and use Validate and estimate.
Closing the render dialog does not cancel the cloud job. Check the dashboard for its outcome rather than starting another job solely because the dialog was closed.
How to render an image
- Open an Image project and click Render.
- In Render image, choose Format: png, jpg, or webp.
- Adjust Quality for JPG or WebP. PNG is lossless, so its quality control is disabled.
- Enable Transparent background for PNG or WebP if needed. JPG does not support transparency.
- Click Start render, then Download when the image is ready.
Image renders use one credit per output image. See Rendering images for format and API details.
How to export JSON or code
Navigation: Editor → Export.
- Click Export.
- Choose a tab:
- project.json for the composition payload.
- Node.js, CLI, or HTTP API for a usage snippet.
- Validation for local errors and warnings.
- Click Copy to copy the selected payload or code tab.
- Click Download JSON to save the project JSON file.
- Before an automated cloud render, run hosted validation with your account credentials.
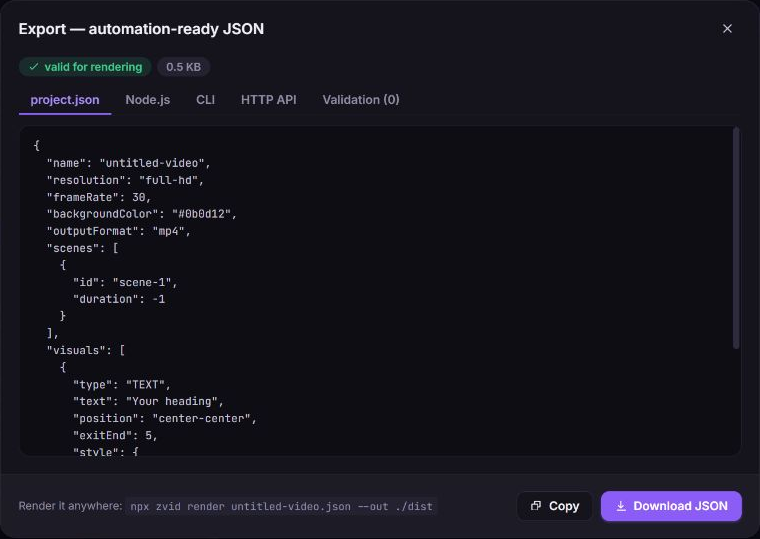
The local valid for rendering status checks editor rules. It does not prove that every remote source can be downloaded or that the payload meets your account's hosted limits.
How to edit an element's JSON
- Select a visual element.
- Open JSON → Raw element JSON in its properties.
- Edit the object and click Apply.
- If parsing or schema errors appear, correct them before applying.
- Use Revert to discard the unsubmitted JSON edits.
The whole-project Export dialog is for copying or downloading. Use Import to replace a project with edited JSON. Element actions also provide Copy JSON and Paste element JSON.
Troubleshooting
Validation errors block rendering
Cause: Local validation found invalid project fields.
Solution: Read the field paths and messages in the render dialog or Export → Validation, correct those values, and reopen Render. Hosted validation may report additional account or plan restrictions.
There are not enough credits
Cause: The account balance cannot cover the reservation required for this render.
Solution: Read the required and available amounts in the error, check your balance in the dashboard, and adjust the project or add credits as appropriate. Return to the dialog and click Try again, then Start render after the issue is resolved.
The render service cannot be reached
Cause: The editor could not connect to the rendering service.
Solution: Check your connection, then use Try again. If the dialog reports an expired session, sign in again. If a job was already accepted, check the dashboard before submitting a duplicate.
A render fails after submission
Cause: The cloud service returned a render error.
Solution: Read Render failed and any field details. Correct the reported issue in the project, then retry. For account render records and troubleshooting, see Projects and renders.
What happens next
A render produces finished media; JSON export keeps the editable composition and does not create media. Keep a saved project or JSON copy when you expect to make revisions.